
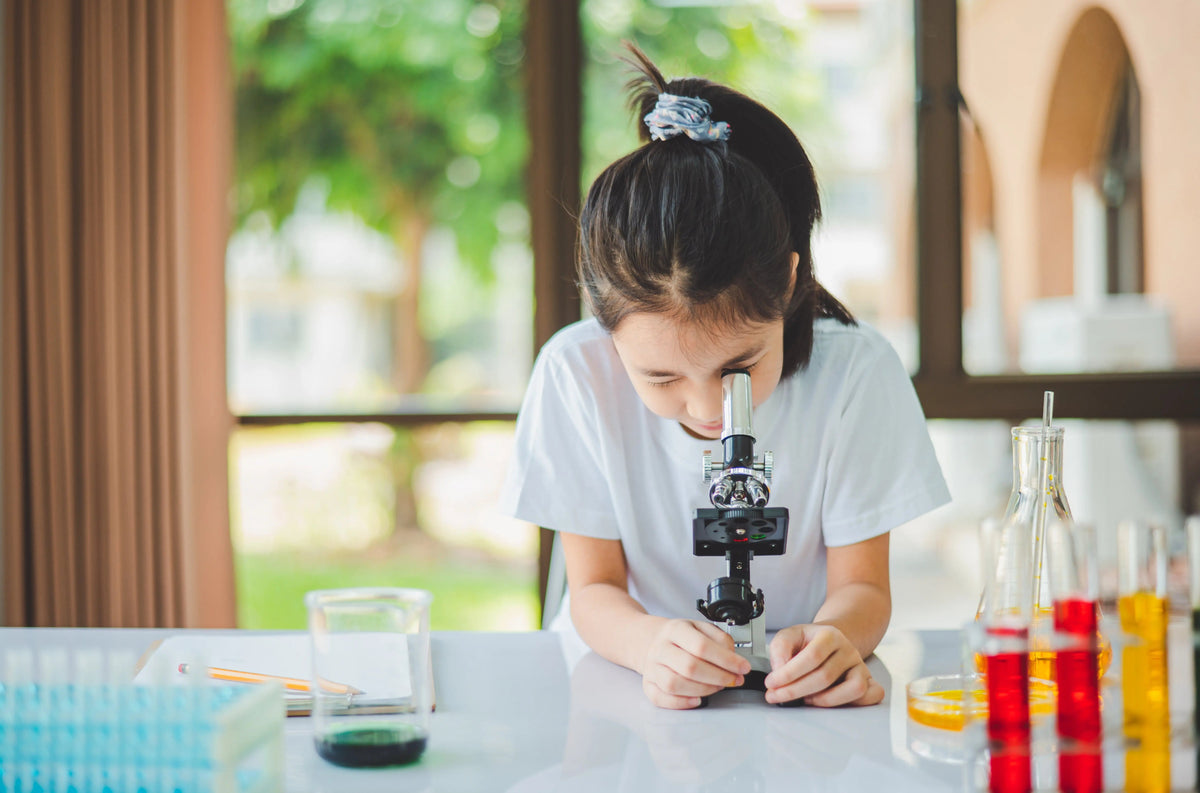
Early science can begin with one simple question: “What do you think will happen?” A small investigation gives young children something concrete to observe, a prediction to make, and a result to talk about.
These science experiments for preschoolers use familiar materials and clear questions. The aim is not to memorize facts. It is to notice change, compare results, and build language around what children can see happening.
Head Start describes early scientific inquiry as a cycle of observing, asking questions, making predictions, testing ideas, and discussing what happened. Families can use the same simple rhythm at home.
Quick answer: how can preschool science experiments work at home?
Start with simple experiments using common household items. These hands-on experiments can follow one clear rhythm: predict, test, observe, and discuss.
A useful sequence is: ask → predict → test → observe → discuss. It introduces the scientific method without turning the moment into a formal lesson.
Children do not need to get the prediction right. The useful part is comparing what they expected with what actually happened.
Why observation matters in early science
Preschool science is often less about explaining every cause and more about helping children notice details. What changed? What stayed the same? Which object moved, floated, mixed, or stayed separate?
That kind of conversation introduces basic scientific concepts and basic science concepts while giving children opportunities to use prediction and problem-solving language.
Head Start’s preschool science framework includes observation, scientific talk, prediction, investigation, comparison, and reflection as important parts of early scientific reasoning.
Explore Head Start’s preschool science guidance for more background on scientific inquiry with young children.
1. Sink or float
The question
Ask: “Which objects do you think will sink, and which will float?”
This sink or float experiment is a clear way to compare different materials in water.
What you need
Use a wide bowl of water and a few safe objects such as a plastic lid, wooden block, spoon, cork, or smooth stone.
Choose objects large enough to handle safely, and keep an adult beside the water throughout.
How to test the prediction
Choose one object at a time. Ask for a prediction before placing it gently into the water.
After testing several objects, group the results into things that sank and things that floated.
What to notice
Ask whether objects made from similar materials behaved in the same way. Avoid suggesting that weight alone determines the result.
The value is in observing, comparing, and noticing that different objects can behave differently in water.
2. Oil and water
The question
Ask: “What do you think will happen when we put oil and water in the same clear container?”
The familiar oil and water investigation gives children a visible example of different liquids behaving differently.
What you need
Use a clear sealed container, water, cooking oil, and a small amount of food coloring added to the water.
An adult should prepare and seal the container before the child handles it.
How to test the prediction
Add the colored water and oil, seal the container securely, and gently move it back and forth.
Watch what happens immediately and then again after the container rests.
What to notice
Notice whether the liquids stay mixed or separate again. Ask which liquid sits above the other after the container is still.
This is a useful introduction to observing properties of liquids without requiring a detailed chemistry explanation.

3. Baking soda and vinegar
The question
Ask: “What do you predict will happen when these two materials meet?”
Baking soda and vinegar create a visible chemical reaction, which makes the change easy to observe.
What you need
Use a small container placed on a washable tray, baking soda, and a small amount of vinegar.
An adult should pour the ingredients and keep them away from eyes and mouths. This experiment is for observation, not tasting.
How to test the prediction
Place a small amount of baking soda in the container, then add a little vinegar.
Watch the bubbling and listen for any sound. Repeat with a different amount only if an adult can manage the setup safely.
What to notice
Ask what changed when the two substances were combined. Bubbles are evidence that a gas is being produced during the reaction.
It is enough for preschoolers to observe that some combinations create changes. More detailed explanations of chemical reactions can come later.
4. Walking colored water and capillary action
The question
Ask: “Can water move from one cup to another without being poured?”
This investigation makes capillary action visible as colored water travels through a paper towel.
What you need
Use three clear cups, water, paper towels, and two colors of food coloring.
Fill the two outside cups partway with colored water and leave the middle cup empty.
How to test the prediction
Fold paper towels into strips and place one end in a colored cup and the other end in the empty middle cup.
Use a second strip to connect the other colored cup to the middle. Then wait and observe.
What to notice
Watch the water travel through the paper towel fibers and begin collecting in the middle cup.
This can also create a simple color-mixing observation when two colors meet.

5. Pepper, water, and surface tension
The question
Ask: “What do you think will happen when a drop of soap touches pepper floating on water?”
This short investigation offers a visible way to introduce surface tension.
What you need
Use a shallow plate of water, a small amount of ground pepper, and a drop of dish soap.
An adult should handle the soap and make sure children wash their hands afterward.
How to test the prediction
Sprinkle a light layer of pepper over the water. Touch the surface first with a clean fingertip or cotton swab and observe.
Then add a tiny amount of dish soap and compare what happens.
What to notice
The pepper moves quickly away from the soapy area as the soap changes the surface tension of the water.
Keep the explanation simple: adding soap changes how the surface of the water behaves.
Two more science ideas to explore with adult guidance
A seed-sprouting observation can introduce the idea that some investigations take several days. Children can notice changes in roots, shoots, and color and compare what they see over time.
A simple air pressure demonstration can also show that air can affect objects even though it cannot be seen. Choose an established educator-led setup and keep the adult in control of water, containers, or any other materials involved.
6. What changes a shadow?
The question
Ask: “What happens to a shadow when an object moves closer to or farther from a light source?”
This gives children a simple way to compare light, objects, distance, and shadow size.
What you need
Use a safe light source, a wall, and a few opaque household objects.
Keep cords and hot light sources out of reach and use an adult-controlled setup.
How to test the prediction
Move one object closer to the light and then farther away while watching the shadow on the wall.
Try different materials and compare which ones make a clear shadow.
What to notice
Ask what changed about the shadow’s size or shape when the object moved.
This introduces observation and comparison without requiring a long explanation of optics.

What about a cloud in a jar?
A cloud in a jar can help introduce condensation and parts of the water cycle, but many versions use hot water or aerosol products.
For that reason, treat it as an adult-led demonstration and follow a reputable science-education procedure rather than improvising the setup with young children.
Questions that keep a science experiment moving
The best questions are often short. They help children focus on evidence rather than looking for one “correct” answer.
Before the test
Ask: “What do you think will happen?” or “Which one do you think will change first?”
During the test
Ask: “What do you notice?” “What changed?” or “What stayed the same?”
After the test
Ask: “Was that what you expected?” “What do you think we could change next time?” or “What would you like to test now?”
These questions create opportunities for prediction, observation, critical thinking, and problem-solving without turning the experiment into a quiz.
How science, technology, engineering, and math connect
These ideas can also connect with science, technology, engineering, and mathematics within broader STEM learning.
A child comparing materials is using science observation. Building a slope adds an engineering question. Counting results or measuring distance brings in mathematics.

Safety comes before the experiment
Choose age-appropriate materials, supervise closely, and keep ingredients away from eyes and mouths.
Do not use unknown substances, sharp objects, flames, or setups that require a child to handle very hot or very cold materials.
Where Ozmotic Learning can fit
Ozmotic Learning uses projected lessons to support early skills, science vocabulary, and curiosity during calm learning-at-home routines.
A projected science lesson can introduce a question before an investigation or help families revisit words such as predict, observe, float, sink, light, or shadow afterward.
Explore more subject areas on the Ozmotic Learning content page.
Keep preschool science focused on noticing and wondering
The most useful science experiments do not need elaborate supplies. A bowl of water, a few objects, paper towels, seeds, or a light source can provide plenty to investigate.
Start with a clear question, invite a prediction, test it safely, and give children time to describe what they noticed. These moments can spark curiosity without making the experience feel formal.
For more ways to build those conversations, read our guide to science questions for preschoolers.
You can also explore STEM learning at home and summer learning at home for related family learning ideas.
Share:
CVC Words for Kids: A Simple Guide for Early Readers